
Teepee diys have been roaming around the internet for quite a long time now and after seeing how cute they look, I’ve always told myself that when I have a kid in the future, I’ll definitely make one for him/ her. But, I really couldn’t resist my itchy fingers and decided that I had to make one now! And so, I decided that I would make one for Joy!

Joy really likes being in small spaces like these and I was convinced that she would be happy to have one. And true enough, I was right! When I was assembling Joy’s teepee on the floor, she didn’t really let me finish and insisted that she wanted to go inside and I ended up assembling the teepee with her inside. And when I was taking pictures of the teepee, I wanted her to go into the red and white teepee instead and believe me or not, I kinda had to manhandle her out of her teepee and after I got her into the red and white teepee and was done with the photos, she refused to get out despite a lot of pushing and coaxing. Oh wells, I guess its a happy problem :)

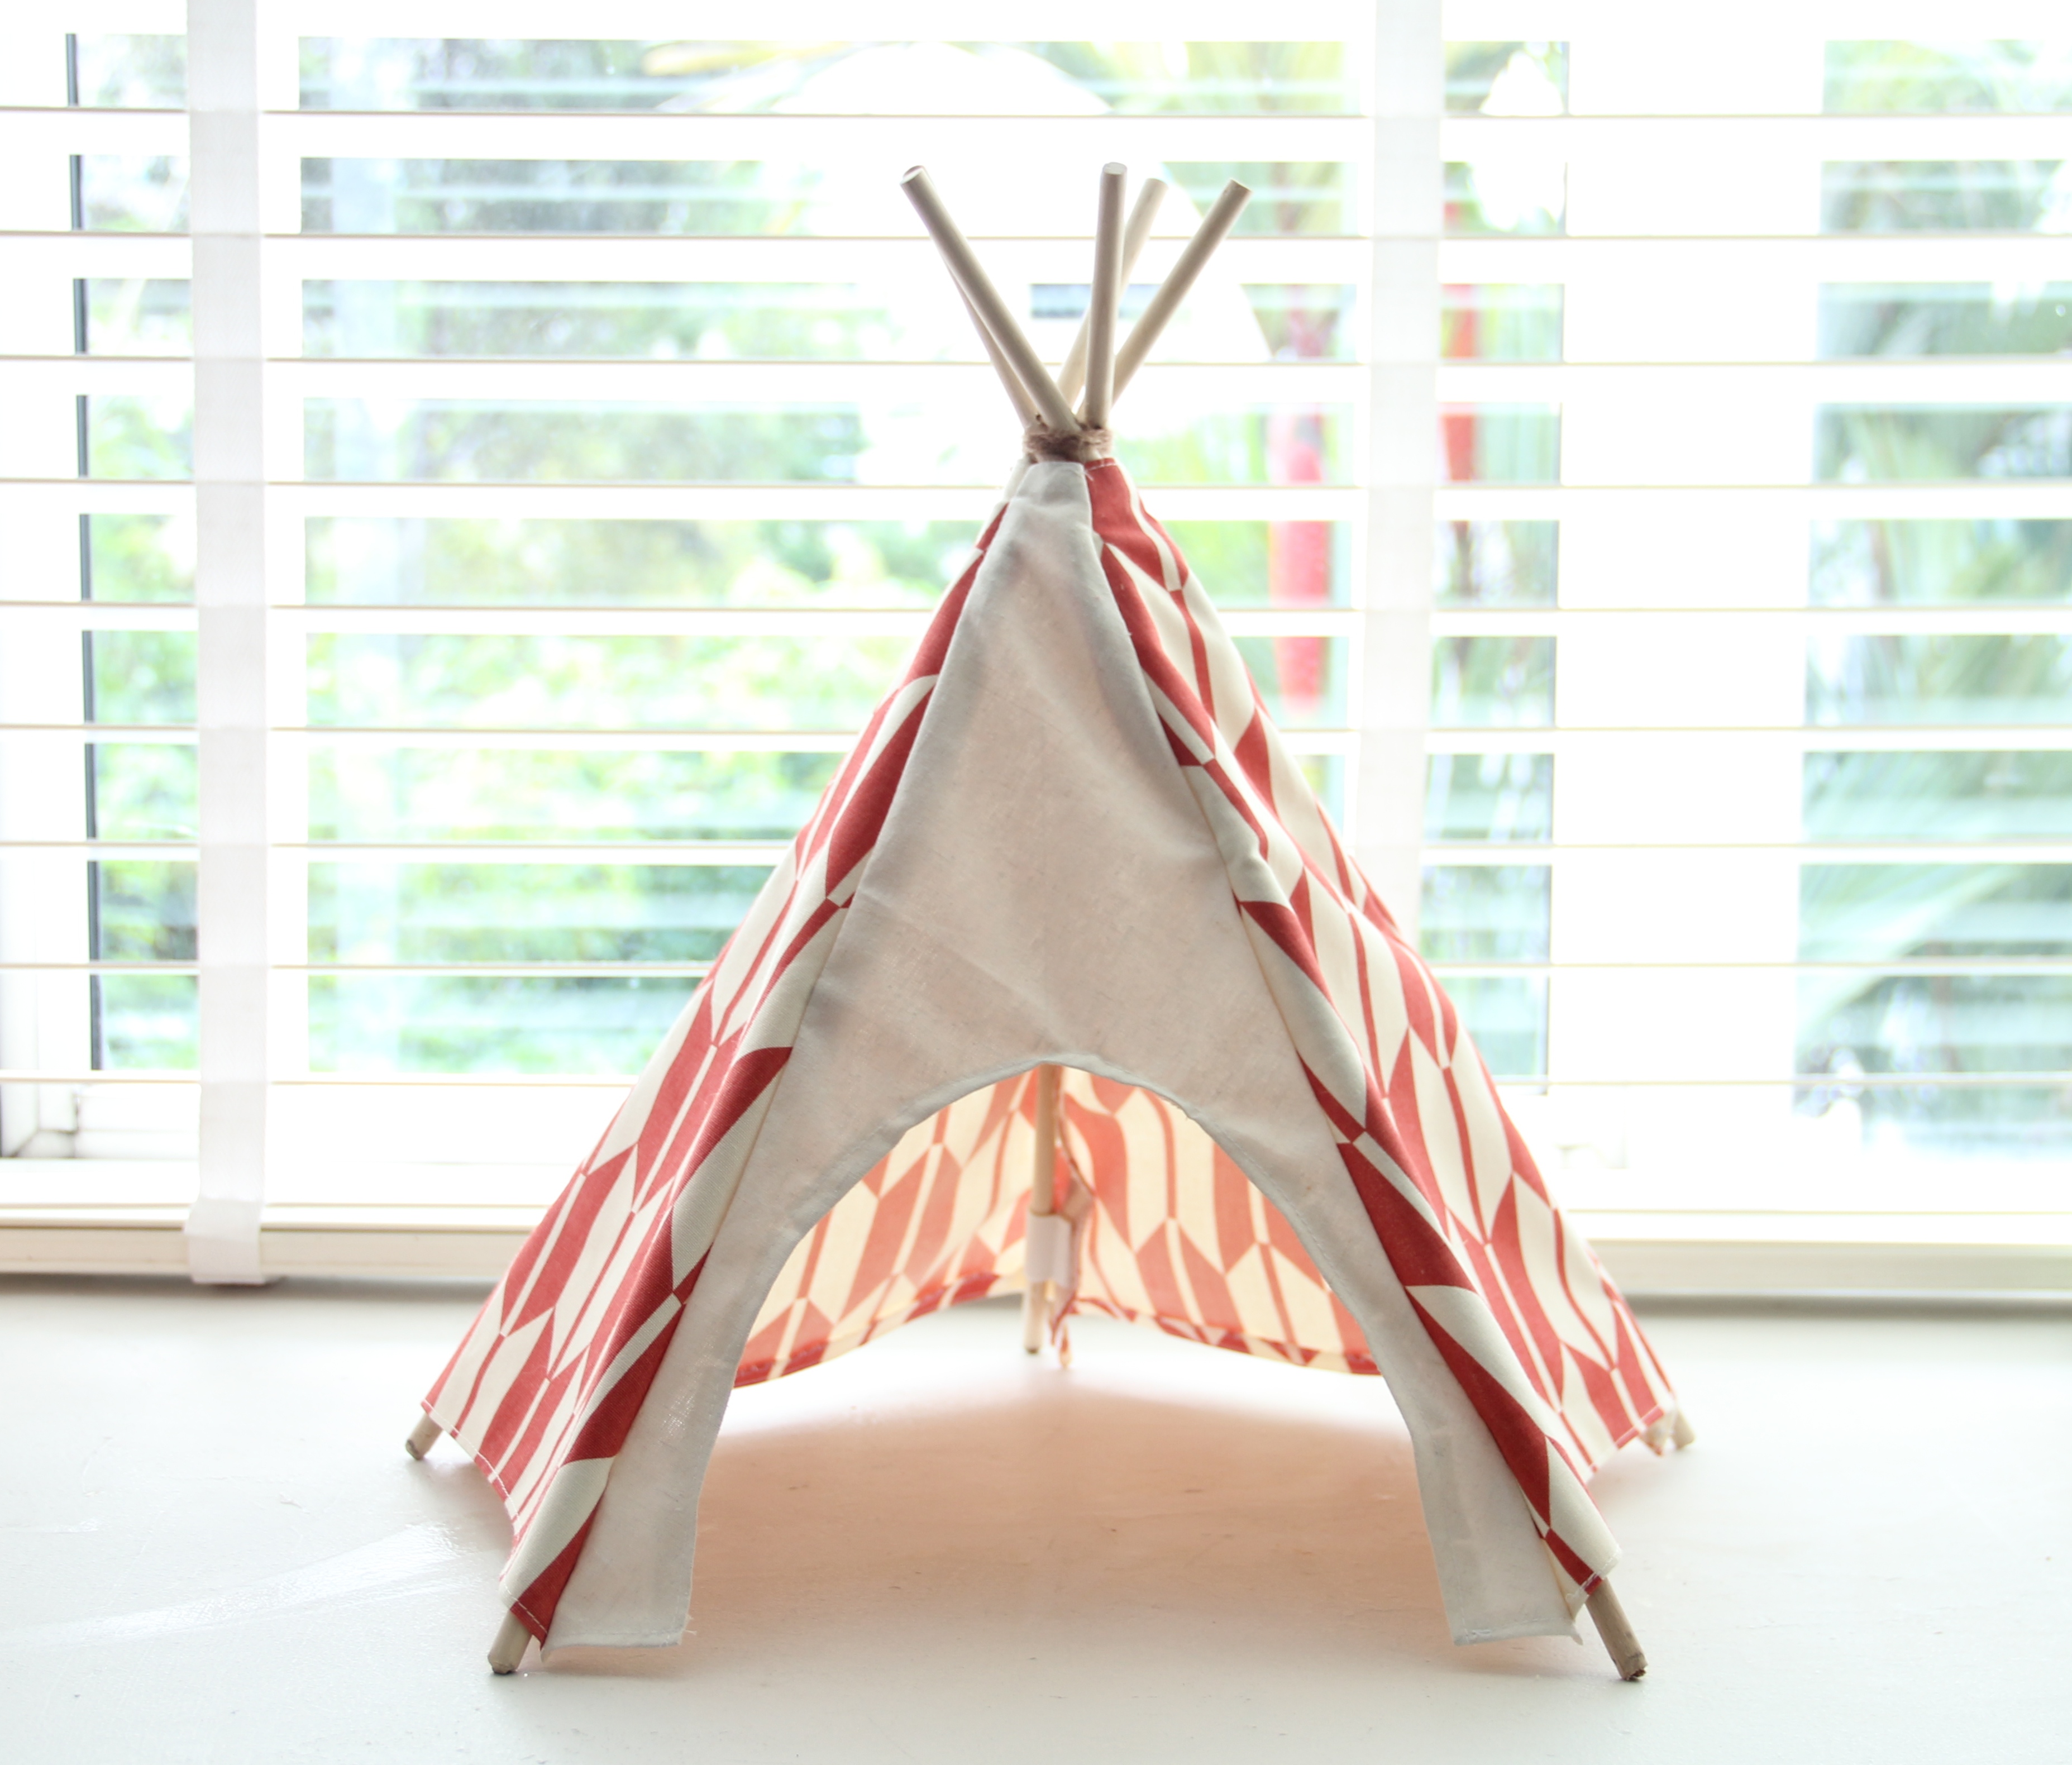
The fabric for this project is really important, and I do like the red and white teepee better just because the fabric really brightens up the whole look and feel of the teepee. This is a good chance to show off some of the good fabric you have! I got the red and white fabric from Spotlight in Singapore and although it did cost quite a lot ($18.99 per metre) I instantly fell in love with it and really like the organic look of the fabric. Also, don’t forget to paint those tips – they really do make the teepees look that much nicer.

I also made a mini teepee specifically for guinea pigs. Since the teepee will be sitting in the cage, which would typically be covered with a layer of wood chips, I made the fabric a little shorter and without a base so that the legs of the teepee would stick right in.
After looking at quite a few diy teepees and making quite a number, I have learnt the following:
– 5-stick teepees are much more stable than 4-stick teepees
– Fabric that’s a little thicker, but not canvas, is good. Canvas is too thick and doesn’t wrap around the teepee nicely.
– Teepees with a base are really stable and I’m not sure how others do it but I’ve reinforced mine such that even when I lift the teepee, the sides don’t collapse
– For these small teepees, they’re really light so with just the wood dowels alone, they won’t stand well. The fabric really reinforces the entire structure since it can be made in such a way that prevents the wooden dowels from moving around.
This diy, although quite time consuming, is so worth it once you’re done! Most of the tutorials I’ve seen out there are for the life-sized teepees so I’m hope that this will come in useful! Also, I find myself making all sorts of different sized teepees for different purposes so the tutorial below will also teach you how to make a teepee of your desired size. It is quite mathematical (brought me all the way back to school and made me realise how much i’ve forgotten!) but if you follow the instructions, it is quite simple. Joy is a 12lb cat and the smaller teepee fits her just nice. Also, the tutorial is very long (sorry about that!) but I just wanted to make sure I cover everything. All the best!
Materials:
Pencil & ruler
Paper
Scissors
Tape
Fabric (depending on your teepee size)
Sewing machine
Wide elastic bands, about 1 inch wide (narrow elastic bands are optional. The wide ones work better than the narrow ones)
Wood dowels (5 short dowels and 5 long dowels, depending on your teepee size)
Saw/ cutter
Drill with small bit (depending on twine)
Twine
Paint (I use Martha Stewart’s acrylic paint)
Instructions:
TEEPEE BASE

From the picture of the pentagon above, you’ll see that a pentagon is made up of 5 equally sized triangles. In order to ensure that the base of the teepee is a pentagon, I’ve devised a method as explained in the next few steps. If you’ve a better way to draw a pentagon to size in a less painful way, I’ll be all ears!
1. Determine the desired length of each side of the pentagon, variable “a”. For the large teepee (in red) I used 35cm for each side and for the smaller teepee, I used 30cm for each side.
2. Using this online pentagon calculator, enter in the length of each side as variable “a”, ensuring that you choose the right unit. Hit “Calculate” and the “Answer” box will generate the measurements of a pentagon. Look for the measurement of “R” and note it down.

3. Depending on the teepee size you’re making, take a large piece of paper, or in my case, I took 2 pieces of copy paper and stuck them together. First, using a ruler, draw the length of variable “a” at the bottom of the page, also draw a mark that divides the length of variable “a” into 2.
4. Draw a line perpendicular to the horizontal like you’ve drawn. Using a ruler, with the 0 point at either of end of the horizontal like you’ve drawn, move the ruler until its length is the value of R as calculated above. Join the other side to form a triangle. Cut out the triangle using a scissors.
5. At this point, depending on the size of fabric on hand, you can choose to cut 5 triangles of fabric and sew them together to form the pentagon (that’s what I did) or if you’ve a big enough fabric, you can use the triangles to draw out the pentagon and cut out the pentagon.
5a. If you choose the former, place the paper triangle on your fabric, using a pencil/ erasable pen/ chalk and a ruler, draw the shape of the triangle onto your fabric. Do this 5 times for the 5 triangles, ensuring that there’s adequate space to cut out a seam allowance you’re comfortable with (I prefer a larger seam allowance just in case so mine was about 1 inch/ 3cm). Cut out the triangles.
5b. If you choose the latter, place the paper triangle on the fabric, using a pencil/ erasable pen/ chalk and a ruler, draw the shape of the triangle onto your fabric. Place the paper triangle next to the triangle you’ve drawn, ensuring that the R sides of the triangle are aligned to one another. Continue to draw until the shape of the pentagon is formed. Cut out the pentagon with a seam allowance you’re comfortable with (mine was 1 inch/ 3cm).
6. If you like, hem stitch or overlock stitch each side. If you used 5a, do this for each triangle and if you used 5b, do this for the pentagon. Otherwise, you can also use pinking sheares. If you used 5b, you’re done with the base of the teepee.
7. If you chose 5a, starting first with 2 triangles and align the R sides so that the correct sides are touching each other and wrong sides facing out. Using a regular stitch, sew along the length of R. Do this until the pentagon is formed.
TEEPEE FRONT

1. Determine the height of your teepee, variable “h”. For the small teepee, I used a 48cm height while for the larger teepee, I used a 53 cm height. Also determine the length of the top of the teepee, variable “w”. For both teepee sizes, i used a width of 4cm. If you’re making a teepee similar to my size, 4cm is already the maximum. The larger variable “w” you use and the shorter the height, variable “h”, the further away the top of the fabric will be from where all the wooden dowels will meet at the top.
2. Working directly on the fabric, draw a horizontal line the length of variable “a” and make a mark that divides the length of variable “a” into 2.
3. From the middle mark, draw a vertical line, perpendicular to variable “a” drawn in step 2, to a length equal to the height of the teepee, variable “h”.
4. The top of the height of the teepee, where variable “h” ends, is the middle point of the length of variable “w”. From there, draw a line perpendicular to variable “h”, the length of variable “w”. This means that if your variable “w” is 4 cm, draw 2cm on the left and 2 cm on the right.
5. Draw lines to join the ends of variable “w” and variable “a”. Depending on the size of the teepee, you may not have a ruler long enough to ensure that the line meets both points exactly. What I did was to tear a super long piece of tape and using that tape, to act as my ruler to join both points. I then used a ruler to follow along the tape to draw that line.
6. Determine the length of variable “d”. For the smaller teepee, the diameter is 20cm while for the larger teepee, I used a diameter of 22cm.
7. Putting a ruler on the fabric parallel to variable “a”, roughly mark a middle point. This will be the middle point of the circle. Using a ruler, I made points all around to form a circle, keeping my ruler at the halfway mark of variable “d”. For example, if my variable “d” is 20cm, I kept my ruler where the middle point is always at 10cm and move the ruler round to make marks until I could draw a circle.
8. Using a fabric scissors, cut out the entire shape, leaving a seam allowance you’re comfortable with (I use a seam allowance of 1 inch/ 3cm). Also cut out the circle, ensuring that you have a seam allowance you’re comfortable with (I use a seam allowance of 1/2 inch or 1.5cm) Only for the circle, cut slits on the seam allowance 1 inch/ 3cm apart so that it’ll be easier to fold in the seams to form the circle later on.

9. Using the hemming/ overlock stitch/ pinking sheares (or none, depending on your tolerance for neatness), hem/ overlock/ cut the sides of the shape to prevent fraying.

10. For the circle, using a regular stitch and working bit by bit, fold in the seams and sew round. Trim off the excess seam when done.
TEEPEE SIDES
1. Following steps 1 to 5 for the TEEPEE FRONT. Continue to draw 4 more of the same shape.
2. Using a fabric scissors, cut out the 4 shapes, leaving a seam allowance you’re comfortable with (I use a seam allowance of 1 inch/ 3cm). Using the hemming/ overlock stitch/ pinking sheares (or none, depending on your tolerance for neatness), hem/ overlock/ cut the sides of the shape to prevent fraying.
3. Fold down the tops, variable “w”, for all the sides and the front and sew a regular stitch across.

SEWING THE FRONT AND SIDES TOGETHER
1. Prepare the elastic bands by cutting them such that the dowels will be able to fit through comfortably. If you’re using a combination of narrow and wide elastic bands, cut 10 wide elastic band and 10 narrow elastic bands. If only using wide elastic bands, cut 15 wide elastic bands.
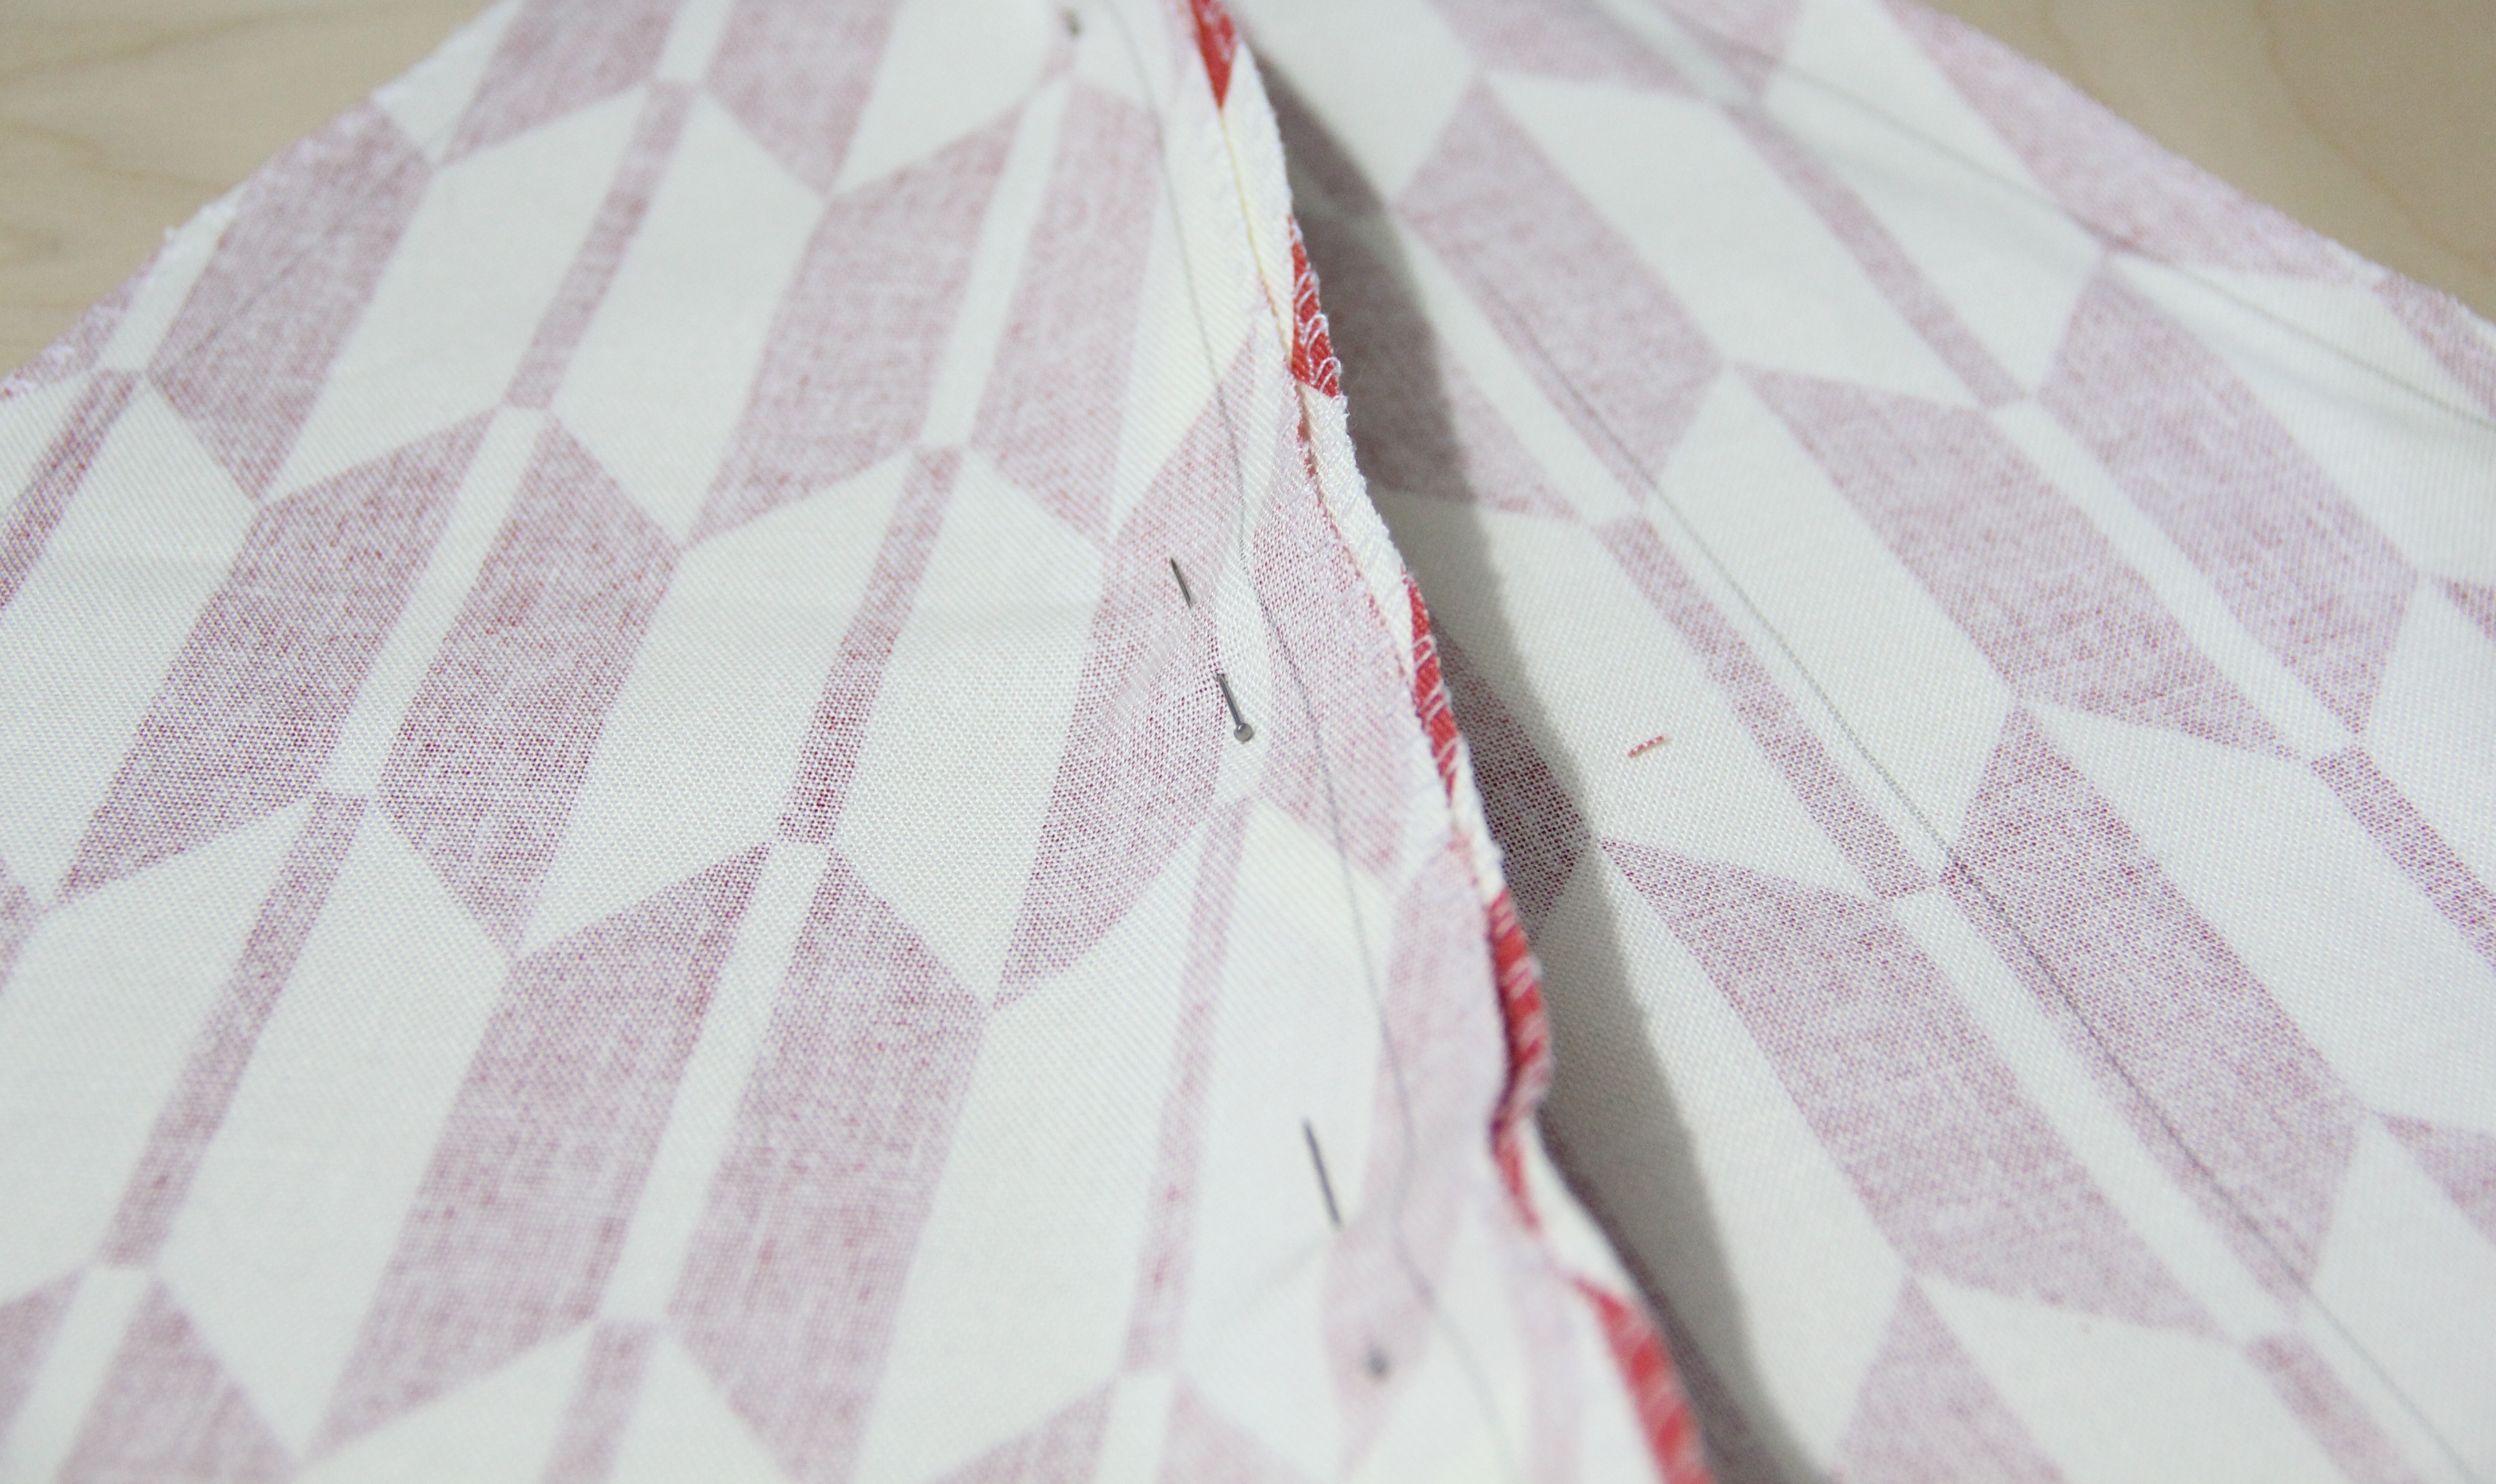
2. Taking 2 sides, line them together with the correct sides touching each other and wrong sides facing out and ensuring that the pencil marks on both sides are aligned. To do this, I would usually poke a pin from one side of the pencil mark and seeing if the pin comes out on the pencil mark on the other side. Adjust accordingly. Pin in place.
3. Sew a regular stitch down, keeping in mind to also sew the elastic bands. If using a combination of narrow and wide elastic bands, position the wide elastics bands, one at the top and one at the bottom and 2 narrow elastic bands in between. If using only wide elastic bands, position one elastic band on top, another at the bottom and another in between. The most important ones are actually the ones on the top and bottom because they keep the teepee in place. Do this for all the sides. If done correctly, the teepee will be inside out.


SEWING THE BASE TO THE FRONT AND SIDES
1. Prepare the elastic bands by cutting them such that the dowels will be able to fit through comfortably. Cut 10 wide elastic bands.
2. Position the base of the teepee such that the incorrect side is outside and the correct sides are inside. Line the edges of the teepee together, ensuring that the pencil marks on both sides are aligned. Pin in place. Sew a regular stitch down, keeping in mind to also sew the elastic bands. Position the elastic bands, one on each end and sew through.

3. Turn the entire teepee inside out and marvel at the completion of the teepee cover!
WOODEN DOWELS
Note: The wooden dowels I bought were long enough to cut 1 long and 1 short wooden dowel out of them.
1. Cut down wooden dowels to fit the edges of the teepee, variable “a”. Cut the dowels slightly smaller than variable “a”. If your variable “a” is 30cm, cut it to about 28cm, approximately. To cut the wooden dowels, I used a mini saw I bought from my hardware store. (I got it for SGD 1, can you believe it!). Use a rough sandpaper to sand the edges down to remove splinters. Do this 5 times. Put the 5 wooden dowels you’ve just cut and slot it through the elastic bands you’ve created in step 2 of SEWING THE BASE TO THE FRONT AND SIDES.
2. Taking 5 other long wooden dowels, slot it through the elastic bands you’ve created in step 2 of SEWING THE FRONT AND SIDES TOGETHER. Position the dowels so that it looks like the end product (this will take some time – be patient!) and position the long dowels such that they come together nicely on the top. Once done, use a pencil to mark the points at which the 5 dowels come together. Remove them from the teepee cover.

3. Put all the 5 dowels together on top a piece of cardboard (or anything that you can use a base to drill through). For this, I found it much easier to have another person to help. I got Jon to help me drill while I held the dowels together. At the points you’ve marked, drill a hole through. Using the sandpaper, smooth any splinters down.
4. Slot the long dowels back into the elastic bands on the teepee covers and position the teepee so that it looks like the end product. Using twine, string it through all the holes, pull to tighten and use the remaining twine to secure it in place. Tie tightly. At this stage, the teepee is final!

5. To paint the tips of the dowel, tear off some tape and tape it round the wooden dowel. Paint (I use Martha Stewart’s acrylic paint) to entirely coat the area and leave to dry. When the paint is dry, remove the tape.

And finally, the teepee is done!


This is adorable and I know our cats would enjoy it! I’d love it if you shared this over at The Makers link party going on at my blog right now, UpcycledTreasures.com Hope to see you there!
LikeLike
Thanks so much for dropping by! I’m sure your cat would love a teepee as well since cats really love confined spaces :) My cat, Joy, is sleeping inside hers as we speak :P
LikeLike
Pingback: The Makers Link Party | Upcycled Treasures
Pingback: The Makers {link party no. 30}
Cutest tee pee I have seen to date! Followed and pinned! :D
LikeLike
This is adorable! Not for my big hounds but I love it so I have to pin it for others with the smaller pets! Great idea!
LikeLike
thanks so much for dropping by and for sharing it with the rest! :)
LikeLike
I have decided to give this little Tee Pee a try. My problem right now is I’m not seeing a measurement for “a” for the front and sides. So do I use the same measurment (35cm) that I used to make the base?
This little Tee Pee is so darn cute.
LikeLike
Hi Rebecca!
For the front and sides, further down the tutorial, there’s variables “w” and “h”. Those are different measurements from the base. Good luck and do let me know if you require more help :)
– Joanne
LikeLike
Thank you for this tutorial! I used it to help make my cat a new teepee, she thanks you! You can look at it, if you would like: http://withcraftsandlace.tumblr.com/post/97751720865/before-i-abandon-my-cat-for-an-entire-semester-i
LikeLike
hey there. thanks so much for sharing – your teepee looks great! :) hope you found the tutorial useful!
LikeLike
I used this tutorial to make a single pentagon as a bottom. I made the square, folded it, and used a utility knife for the final cut since I don’t have a rotary cutter. Worked perfectly. I currently have all the pieces cut, but I’m looking forward to assembling it!
LikeLike
Thanks so much for sharing! Definitely looks like a great alternative to making those pentagons!
LikeLike